How to Check and Replace Your Car’s Brake Pads
Maintaining your vehicle is crucial for ensuring safety on the road, and one of the most important components to keep in check are your car’s brake pads. Brake pads are essential for slowing down and stopping your vehicle, and over time, they wear down and require replacement. Neglecting them can lead to reduced braking efficiency and increased stopping distances, posing a risk to you and others on the road. This article will guide you through the process of checking and replacing your car’s brake pads.
Understanding Brake Pads
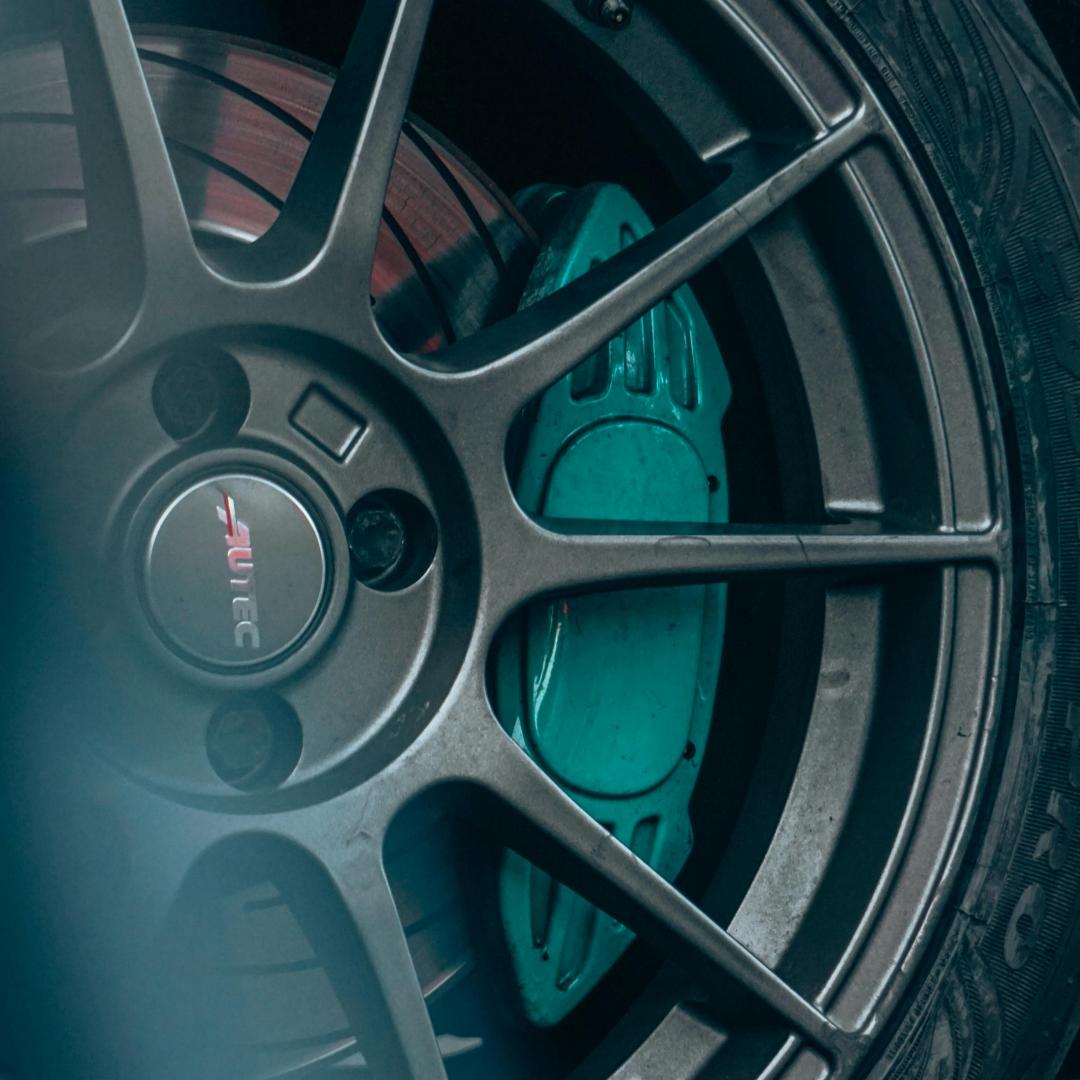
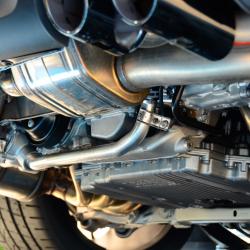
Before diving into the process, it’s important to understand what brake pads are and how they function. Brake pads are components of the disc brake system, which includes the brake disc (or rotor) and the caliper. When you press the brake pedal, the caliper squeezes the brake pads against the rotor, creating friction that slows down the wheel.
Signs That Your Brake Pads Need Checking
- Squealing or Squeaking Noise: If you hear a high-pitched squeal when you apply the brakes, it’s often a sign that the brake pads are worn and need attention.
- Grinding Sound: A grinding noise when braking is a more severe indicator, often meaning the brake pads are completely worn out and possibly damaging the rotor.
- Reduced Responsiveness: If your brakes feel less responsive or the pedal feels soft, it’s time to inspect the brake pads.
- Indicator Light: Some vehicles have an indicator light on the dashboard that illuminates when the brake pads are due for a change.
Checking Your Brake Pads
Tools You’ll Need:
- Jack and jack stands
- Lug wrench
- Flashlight
- Brake pad gauge (optional)
Steps:
-
Safety First: Park your car on a flat surface, engage the parking brake, and place wheel chocks behind the tires to prevent the car from rolling. Wear gloves and safety glasses.
-
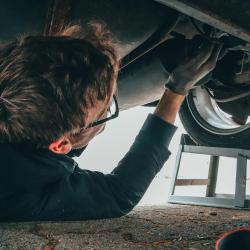
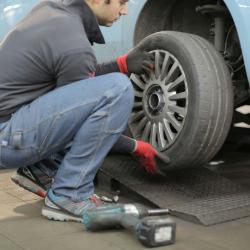
Lift the Vehicle: Use a jack to lift the car and secure it with jack stands. Remove the wheel nuts with a lug wrench and take off the wheel to access the brake assembly.
-
Inspect the Brake Pads: Locate the brake caliper and look at the brake pads. Use a flashlight for better visibility. The pads should have at least 3mm of material. If they’re thinner, it’s time to replace them.
-
Check for Uneven Wear: Ensure both brake pads (inner and outer) are wearing evenly. Uneven wear could indicate other issues, such as a stuck caliper.
Replacing Your Brake Pads
Tools You’ll Need:
- The same tools used for checking
- C-clamp or brake caliper tool
- New brake pads
- Brake grease
Steps:
-
Remove the Caliper: Unbolt the caliper from the bracket using the appropriate socket or wrench. Carefully slide it off the rotor and support it with a piece of wire or rest it on a stand to avoid straining the brake line.
-
Remove the Old Pads: Slide out the old brake pads from the caliper bracket. They should come off easily, but you may need to wiggle them a bit.
-
Prepare the New Pads: Apply a thin layer of brake grease on the back of the new pads to reduce noise and ensure smooth operation.
-
Compress the Caliper Piston: Use a C-clamp or brake caliper tool to compress the caliper piston back into its housing. This is necessary to fit the new, thicker pads.
-
Install the New Pads: Insert the new brake pads into the caliper bracket. Ensure they’re positioned correctly and securely.
-
Reattach the Caliper: Carefully slide the caliper over the new pads and rotor. Rebolt it to the bracket securely.
-
Reinstall the Wheel: Place the wheel back on, hand-tighten the lug nuts, and lower the car. Once on the ground, fully tighten the lug nuts in a crisscross pattern.
-
Test the Brakes: Before hitting the road, press the brake pedal a few times to ensure the brakes are functioning correctly and the pads are seated properly.
Conclusion
Regularly checking and replacing your car’s brake pads is an essential part of vehicle maintenance that can save you from costly repairs and, more importantly, keep you safe. By following these steps, you can ensure your braking system is in top condition. If at any point you feel uncertain, don’t hesitate to consult a professional mechanic. Remember, when it comes to vehicle safety, it’s always better to be safe than sorry.