How to Apply Foundation Like a Pro: Tips for a Natural Finish
Achieving a flawless, natural-looking complexion is often the Holy Grail of makeup enthusiasts. Foundation serves as the canvas for your entire look, and when applied correctly, can enhance your natural beauty without looking cakey or overdone. Whether you’re a makeup beginner or a seasoned pro, these tips will help you master the art of applying foundation for a natural finish.
1. Start with a Clean, Moisturized Face
Before diving into makeup application, ensure your skin is clean and well-moisturized. Cleansing removes impurities and excess oil, while moisturizer provides a smooth, hydrated base for makeup. Choose a moisturizer that suits your skin type—gel-based for oily skin, cream-based for dry skin, and a balanced or lightweight option for combination skin.
2. Choose the Right Foundation
Selecting the right foundation is crucial for a natural look. Consider your skin type and undertones:
- Skin Type: For oily skin, opt for a matte, oil-free foundation. If you have dry skin, a hydrating or dewy formula works best. Combination skin might benefit from a semi-matte finish.
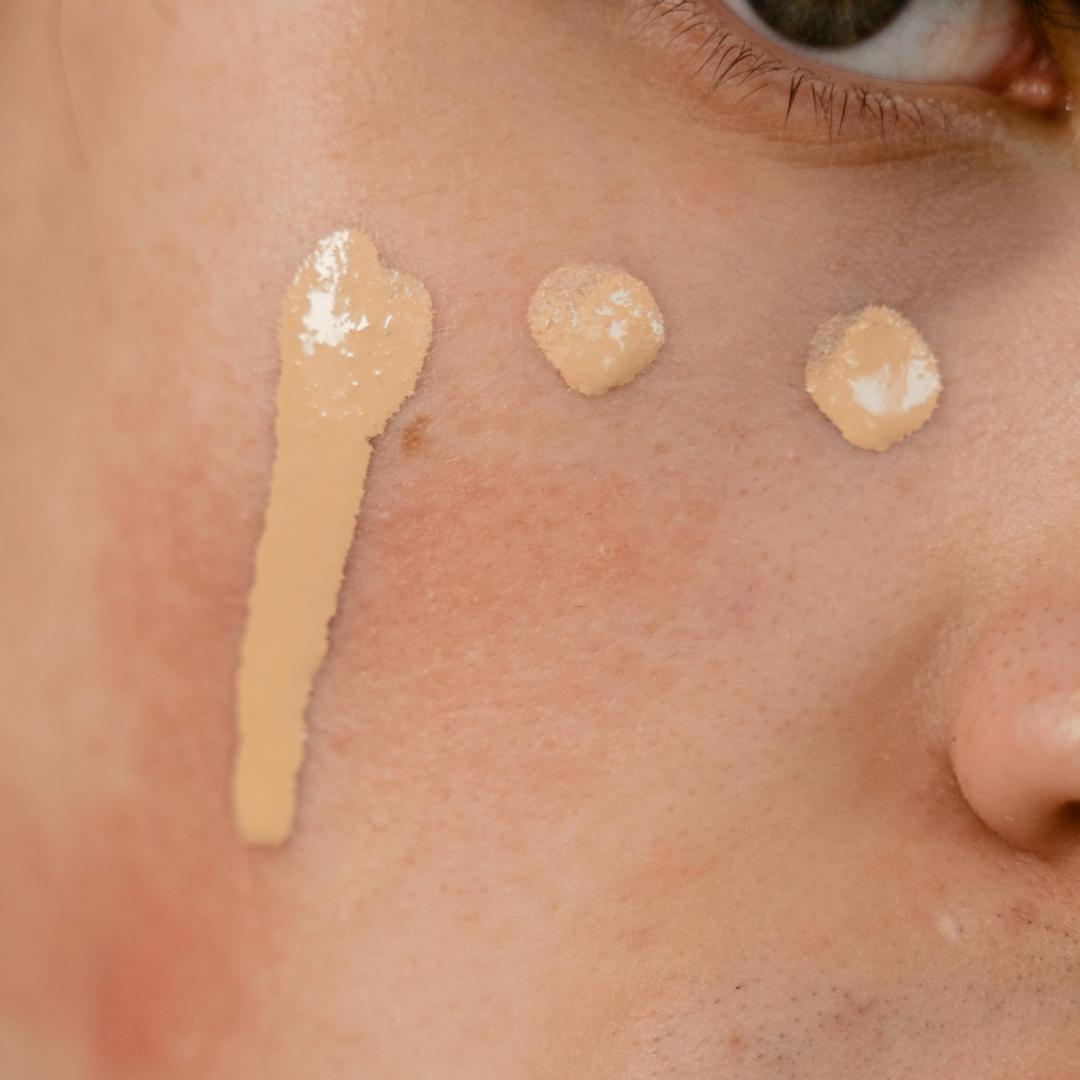
- Undertones: Determine if your skin has cool, warm, or neutral undertones. This will guide you in choosing a foundation shade that matches seamlessly.
It’s often recommended to test foundation shades on your jawline in natural light to ensure the perfect match.
3. Prime for Perfection
Primer acts as a bridge between skincare and makeup, smoothing out pores and fine lines while helping foundation adhere better. Consider a primer tailored to your skin concerns—mattifying for oily skin, hydrating for dry skin, or a pore-minimizing formula for a smoother appearance.
4. Tools Matter
Your choice of foundation applicator can make a significant difference:
- Brushes: A dense, flat-top brush offers fuller coverage, while a stippling brush provides an airbrushed, lighter look.
- Sponges: A damp makeup sponge gives a dewy, seamless finish. Use a tapping motion to blend foundation into the skin.
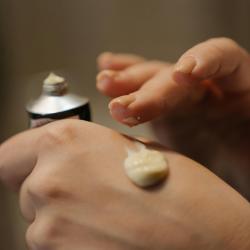
- Fingertips: For a sheer, natural finish, use your fingers to warm the product, then press and blend it into your skin.
5. Apply Strategically
Begin applying foundation from the center of your face (forehead, nose, and chin) where most discoloration occurs, then blend outward. This technique ensures you use less product, avoiding a mask-like effect.
6. Blend, Blend, Blend
Regardless of the tool you choose, blending is key. Use circular motions with a brush or bounce a sponge over your face to avoid streaks or harsh lines. Pay attention to the jawline and hairline to ensure there are no visible lines of demarcation.
7. Layer for Buildable Coverage
Instead of piling on a single heavy layer of foundation, build coverage gradually. Apply a light layer, let it set, and add more where necessary to even out skin tone or conceal blemishes.
8. Set It, But Don’t Overdo It
To keep your foundation in place, especially if you’re prone to oiliness, set it lightly with a translucent powder. Use a fluffy brush for a light application, focusing on the T-zone. For those with dry skin, a setting spray can lock your makeup in without emphasizing dryness.
9. Highlight for Dimension
After applying foundation, add a subtle highlight on the high points of your face—such as the cheekbones, bridge of the nose, and cupid’s bow—to bring back natural dimension and glow.
10. Regularly Update Your Technique
As trends and products evolve, so should your techniques. Follow beauty gurus, attend workshops, or seek advice from beauty professionals to keep your skills and knowledge fresh.
Mastering the application of foundation can transform your makeup routine, offering a polished yet natural finish that highlights your features without concealing who you are. By following these steps and practicing regularly, you’ll be able to apply foundation like a pro in no time.