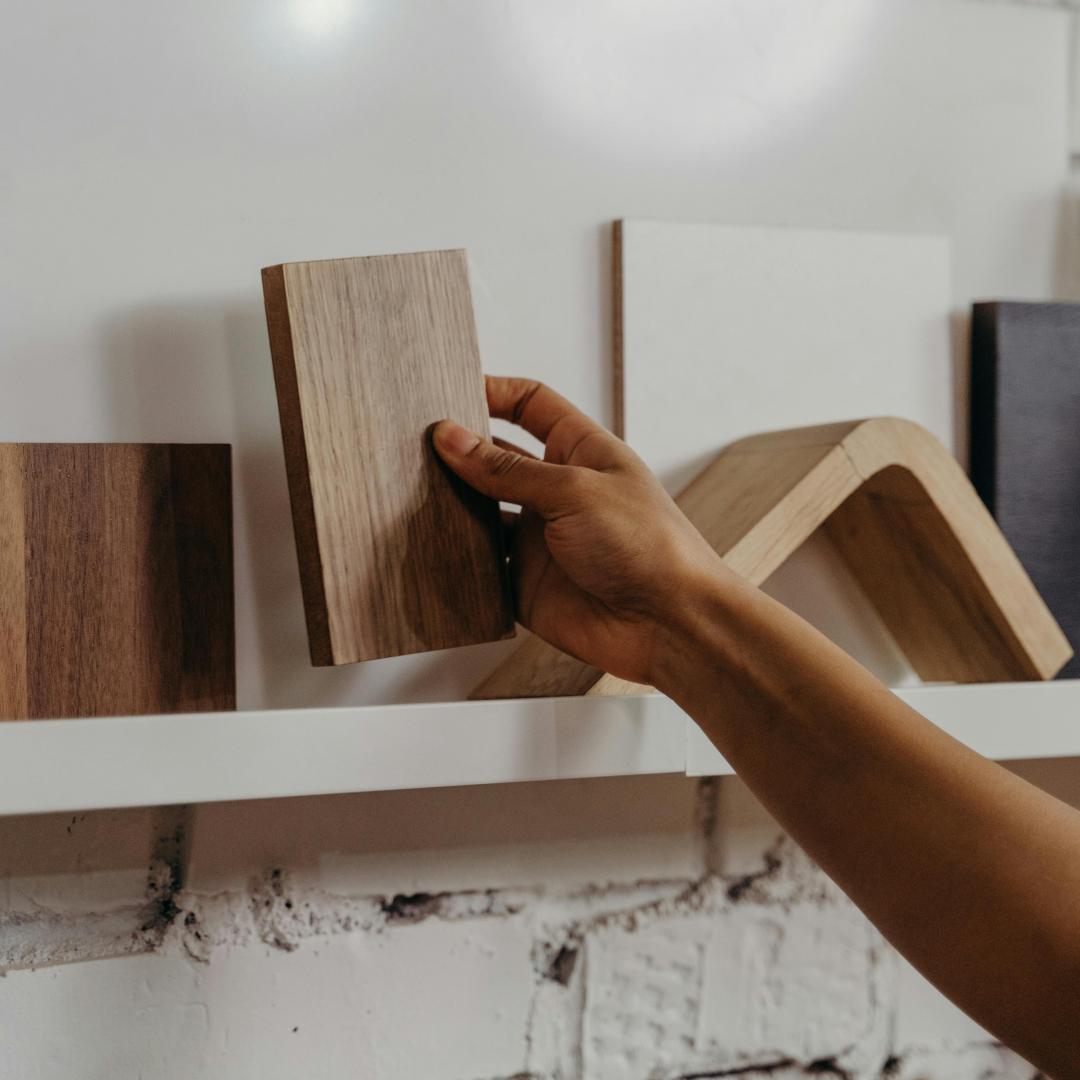
How to Build a Shelf from Scratch
Building a shelf from scratch might seem daunting, especially if you're new to DIY woodworking projects. However, with the right tools, materials, and a little bit of patience, you can create a functional and stylish shelf that not only adds storage but also enhances the aesthetic of your home. Whether it's to display beloved books, showcase collectibles, or organize essentials, a custom-built shelf can be a rewarding project. Here's a comprehensive guide to help you through the process:
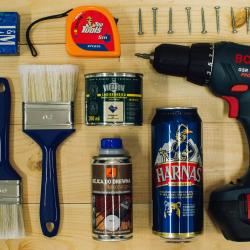
Materials and Tools You'll Need
Materials:
- Wood: Choose the type based on your preference. Pine is affordable and workable, while hardwoods like oak or walnut offer durability and elegance.
- Wood screws: Ensure you have the right length for securing your shelves.
- Wood glue: Provides additional support where nails or screws won't do alone.
- Sandpaper: Various grits, from coarse to fine, to smooth surfaces.
- Paint or wood stain: Depending on your desired finish.
Tools:
- Saw: A circular saw or hand saw for cutting wood to size.
- Drill: For making holes and driving screws.
- Level: To ensure your shelves are even.
- Measuring tape: Essential for accurate measurements.
- Square: For ensuring right angles.
- Clamps: Helpful for holding pieces in place as you work.
Step-by-Step Instructions
Step 1: Plan Your Shelf
Start by deciding on the size and design of your shelf. Consider how much weight it needs to hold and where it will be placed. Sketch your design with detailed dimensions. This planning stage is crucial for gathering the right materials and ensuring the shelf fits the intended space perfectly.
Step 2: Gather Materials and Tools
Visit your local hardware store or lumber yard with your plan in hand. Purchase enough wood for the number of shelves and supports you’ve designed, plus a little extra for mistakes or test cuts. Don’t forget your screws, paint or stain, and any other small materials required.
Step 3: Cutting the Wood
Using your saw, carefully cut the wood according to your designed measurements. If using a power saw, always follow safety protocols and wear protective gear. Check each piece after cutting to confirm correct lengths and angles.
Step 4: Sand the Wood
Smooth the cut surfaces of your pieces with sandpaper. Start with a coarser grit to remove major roughness, and gradually move to a finer grit for a smooth finish. This step ensures your shelves are splinter-free and ready for finishing.
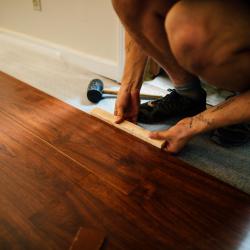
Step 5: Assemble the Shelf
Begin assembling your shelf by attaching the side supports to each shelf board using wood glue and screws. Use a square to ensure each connection is at a right angle. Clamps can help secure the pieces as the glue dries. Incorrectly aligned pieces can make the entire shelf unstable, so take your time with this step.
Step 6: Secure the Shelving Unit
Once the shelving unit is assembled, you may need to add brackets or additional supports depending on its size and purpose. Use the drill to attach these reinforcements securely to prevent wobbling and to enhance the shelf’s load-bearing capacity.
Step 7: Finish the Shelf
Apply your chosen paint or stain and a layer of sealant for protection. This not only improves the shelf's appearance but also extends the wood's longevity by protecting it from moisture and wear. Let each coat dry completely before applying the next.
Step 8: Install the Shelf
With a partner's help, position the shelf in its intended location. Use a level to ensure it is perfectly horizontal. Mark the wall where the supports will meet the wall anchors. Drill the holes for wall anchors if necessary and mount the shelf securely.
Final Thoughts
Crafting a shelf from scratch is more than just a way to organize your home — it’s a process that allows for creativity and hands-on skill development. Plus, a self-built shelf not only serves a practical purpose but also becomes a personal statement in your living space. Whether minimalistic or extravagant, your handmade shelf will surely be a testament to your effort and ingenuity.
Remember, patience and precision are key to a successful DIY project. Take your time, double-check your measurements, and don't hesitate to ask for help when needed. Happy building!