How to Lay Down Flooring Yourself
Embarking on a DIY flooring project can be a rewarding experience that not only enhances the aesthetic of your space but also brings a sense of achievement. Whether you're updating a single room or transforming an entire home, laying down flooring yourself is a practical skill that can save you money and allow for personalized designs. Here’s a comprehensive guide to help you through the process.
Materials and Tools You’ll Need
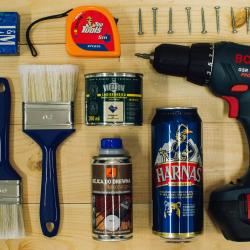
Before diving into the project, make sure you have all the necessary materials and tools. The type of flooring you choose—hardwood, laminate, vinyl, or tile—will dictate specific requirements, but generally, you’ll need:
- Measuring tape
- Utility knife
- Floor roller
- Pry bar
- Tapping block
- Spacers
- Carpenter's square
- Hammer
- Adhesive or nails (for specific flooring types)
- Underlayment (if required for your flooring type)
Step 1: Choose Your Flooring
Select your desired flooring based on the room's usage, moisture level, and aesthetic preference. For example, vinyl or tile is ideal for high-moisture areas like bathrooms and kitchens, while hardwood or laminate works well in living rooms and bedrooms for a warm, natural look.
Step 2: Prepare the Subfloor
Preparation is key to a successful floor installation. Begin by removing old flooring and cleaning the subfloor thoroughly. Check for any damage; repair or replace problem areas to ensure a flat, clean, and dry surface. Ensure the subfloor is even, using a spirit level to check for dips or peaks. Sand down or fill any uneven areas for a smooth finish.
Step 3: Gather Accurate Measurements
Measure the room's dimensions accurately to determine the amount of flooring you’ll need. Add an extra 10% to your measurements to account for waste and future repairs.
Step 4: Acclimate Your Flooring
Allow the flooring materials to acclimate in the room where they’ll be installed. This step is crucial for wood or laminate to adjust to the room’s temperature and humidity, minimizing future warping or gaps.
Step 5: Install Underlayment (if needed)
Some flooring types require an underlayment, which can provide additional cushioning, act as a moisture barrier, or improve sound insulation. Roll out or lay the underlayment according to product instructions, ensuring there is no overlapping, and trim any excess.
Step 6: Begin Laying Your Flooring
Start laying flooring along the longest wall or a focal point, such as a fireplace. Use spacers to maintain an expansion gap around the room's perimeter, which allows the floor to expand and contract with temperature changes.
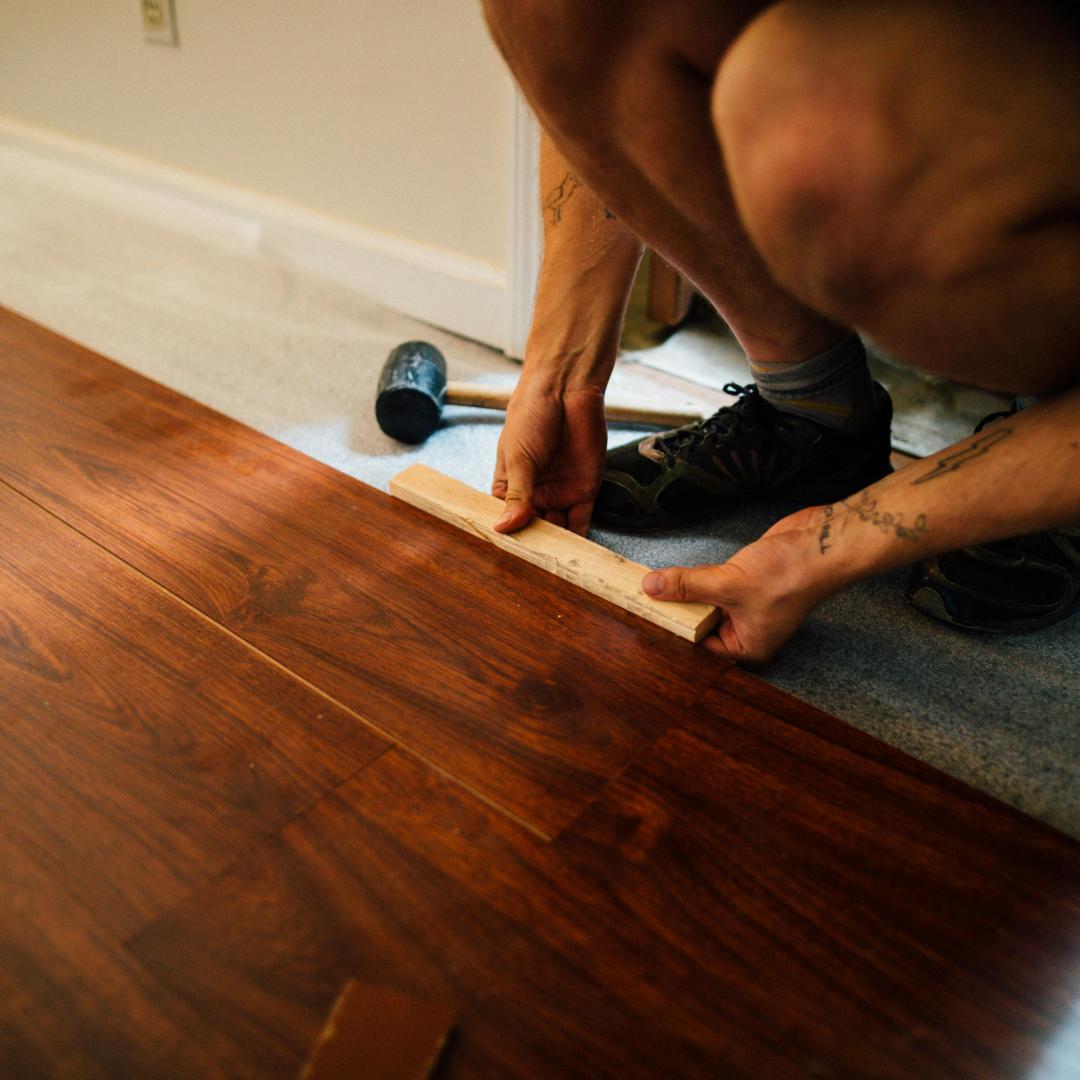
- For hardwood or laminate: Lay down the boards while using a tapping block and hammer to ensure a snug fit between boards.
- For vinyl or tiles: Lay the adhesive as instructed and press each piece into place, frequently checking alignment and fit.
Step 7: Trim and Finish
Use a utility knife or saw to trim the last row of flooring to fit. Remove spacers and install baseboards or molding to cover the expansion gaps.
Step 8: Clean and Inspect
Give the new floor a thorough cleaning to remove any dust or debris. Inspect the installation for any loose areas or gaps and address them immediately to ensure durability and longevity.
Tips for Success
- Stay Patient: Rushing can lead to mistakes or overlooked details.
- Keep It Clean: Regularly sweep away debris, which can interfere with fitting your flooring.
- Use Consistency: Make sure all pieces are aligned in the same direction for a uniform look.
Conclusion
Laying down flooring yourself is a fulfilling task that can be accomplished with patience, the right tools, and a little bit of know-how. By following these steps, you’ll be walking on your newly installed floors with pride and keeping your budget intact. Happy flooring!
