How to Replace a Broken Tile
Tiles are a versatile and durable choice for flooring and walls, offering both aesthetic appeal and functional benefits. However, they are not immune to damage. Whether it's a crack from dropped objects, chips from heavy foot traffic, or simply wear and tear over time, eventually you may find yourself needing to replace a broken tile. Fortunately, with the right tools and methodical approach, you can tackle this home improvement project yourself. Here’s a step-by-step guide on how to replace a broken tile effectively.
Tools and Materials Needed
Before you begin, gather the following tools and materials:
- Replacement tile (ensure it matches the existing tiles)
- Tile adhesive or mortar
- Grout (matching the existing grout color)
- Tile spacers
- Safety goggles
- Gloves
- Hammer
- Chisel
- Notched trowel
- Grout float
- Grout sponge
- Utility knife
- Bucket
- Drill with a masonry bit (optional for hard tiles)
- Vacuum cleaner or shop vac
Step-by-Step Instructions
1. Prepare the Work Area
Clear the area around the broken tile. Wear your safety goggles and gloves to protect yourself from sharp edges and debris.
2. Remove the Grout
Use a utility knife or grout saw to carefully remove the grout surrounding the broken tile. Take your time to avoid damaging adjacent tiles. If the grout is tough to remove, you might need to use a grout removal blade or rotary tool.
3. Break and Remove the Old Tile
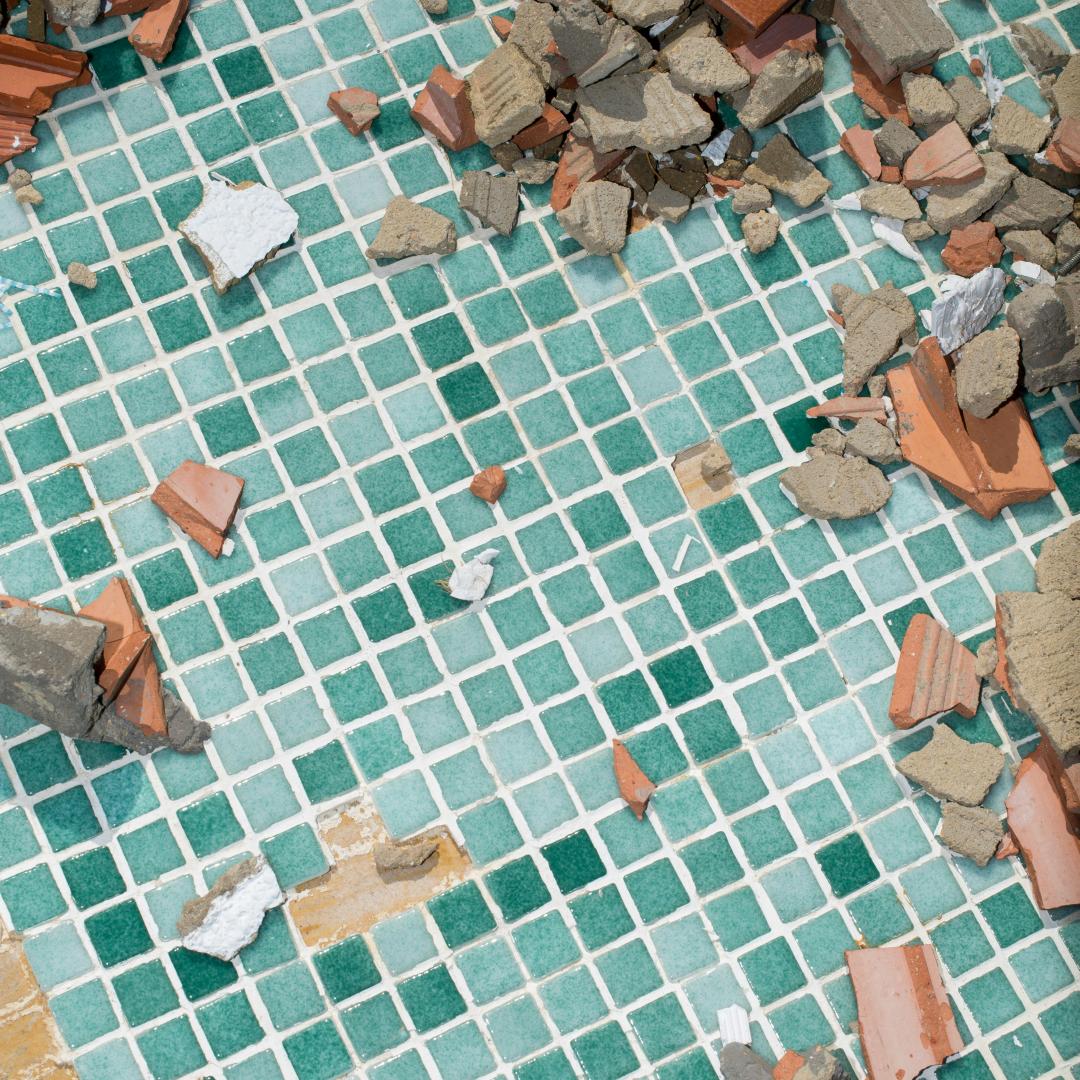
Gently crack the tile using a hammer and chisel. Start from the center of the tile to avoid putting pressure on its edges, which could damage adjacent tiles. If the tile is particularly stubborn, drill a series of holes in it to weaken it before chiseling. Carefully remove the broken tile pieces and clean up the debris using a vacuum cleaner or shop vac.
4. Prepare the Surface
After removing the broken tile, inspect the underlying area for old adhesive or mortar. Use the chisel to remove any residue and ensure the surface is smooth and flat. Clean the area with a damp cloth and let it dry completely.
5. Set the New Tile
Apply tile adhesive or mortar to the back of the new tile using a notched trowel. Also, spread some adhesive onto the substrate where the new tile will sit. Make sure the adhesive layer is even to prevent tilting. Press the replacement tile firmly into place, ensuring it is level with the surrounding tiles. Use tile spacers to maintain consistent spacing between tiles.
6. Allow the Adhesive to Set
Follow the manufacturer’s instructions regarding drying time for the adhesive or mortar. Typically, this can take between 24 to 48 hours. Avoid stepping on or applying pressure to the new tile during this time.
7. Apply Grout
Once the adhesive is dry, mix the grout according to its instructions. Use a grout float to apply grout into the spaces around the tile, pressing firmly to ensure it fills the joints completely. Wipe away excess grout with a damp grout sponge, being careful not to disturb the grout lines.
8. Clean and Finish
Allow the grout to set for the recommended time (usually about 24 hours). Once set, buff the tiles with a clean, dry cloth to remove any grout haze. Finally, seal the grout if recommended to keep it protected from moisture and stains.
Conclusion
Replacing a broken tile requires some patience and precision, but it’s a manageable task that can save you from hiring a professional. By following these steps carefully, you can restore the beauty and functionality of your tiled surface. Not only will this repair maintain the aesthetic integrity of your space, but it will also help prevent further damage by ensuring the surface remains intact and well-sealed. Happy tiling!
