How to Replace a Broken Window Pane on Your Own
Windows play a crucial role in our homes; they let in natural light, offer ventilation, and provide a view to the outside world. However, accidents happen, and a broken window pane can be both an eyesore and a security concern. Fortunately, replacing a window pane is a task you can tackle yourself with a bit of guidance. Here's a step-by-step guide to help you restore your window to its former glory.
Materials and Tools You'll Need:
- Replacement glass pane
- Glazier’s points (small metal clips)
- Glazing putty (or glazing compound)
- Putty knife
- Utility knife
- Glass cutter (if necessary)
- Measuring tape
- Protective gloves and safety goggles
- Paint scraper or chisel
- Sandpaper
- Paint (optional, for finishing touches)
Safety First:
Before you begin, it's crucial to consider safety. Wear protective gloves and safety goggles to avoid cuts from broken glass. Ensure to work in a well-lit area and keep a first aid kit nearby just in case.
Step-by-Step Guide:
Step 1: Remove the Broken Glass
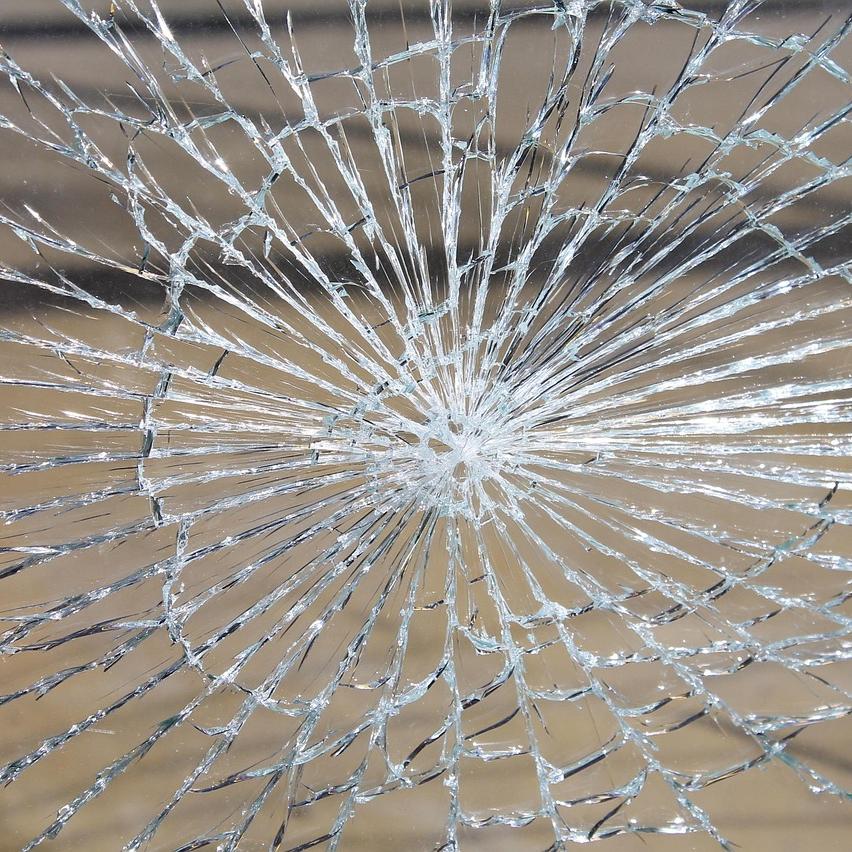
Start by carefully removing all loose pieces of the broken glass. If large sections remain, tape them with duct tape to prevent shards from falling as you work. Use a putty knife or chisel to remove pieces embedded in old putty. Once done, safely dispose of the broken glass.
Step 2: Remove Old Glazing
Old glazing putty can be stubborn. Use a utility knife to cut through the dried material, and a putty knife to scrape it away from the frame. If necessary, apply heat with a heat gun to soften the putty, though be cautious to avoid damaging the wood.
Step 3: Remove Old Glazier’s Points
Use the chisel or a putty knife to pry out any old glazier’s points. These small metal clips hold the glass in place. Be careful not to damage the window frame during this process.
Step 4: Measure and Cut the New Glass
Measure the window opening accurately, both width and height. Subtract 1/8 inch from each measurement to ensure the glass fits comfortably. If purchasing pre-cut glass, provide these dimensions to your supplier. If cutting the glass yourself, use a glass cutter along with a straight edge for a clean line.
Step 5: Install the New Glass
Place the new glass pane into the window frame, ensuring it fits snugly. Press new glazier’s points into the frame around the perimeter of the glass. Space them about six inches apart for a firm hold.
Step 6: Apply Glazing Putty
Roll a small amount of glazing putty between your hands to warm and soften it. Press it into the frame around the glass, creating an angled fillet that seals the window and holds it securely. Use a putty knife to smooth the putty evenly around the edges. Allow it to cure according to the manufacturer's instructions.
Step 7: Finishing Touches
Once the putty is fully cured, use fine-grit sandpaper to smooth any rough edges. If desired, finish with a coat of paint to match the rest of the window frame. This will not only improve the appearance but also provide additional protection against the elements.
Conclusion:
Replacing a broken window pane is a rewarding DIY project that can save you money while improving your home's integrity and appearance. By following these steps and prioritizing safety, you can effectively address this common household issue and maintain the comfort and security of your home. Remember, patience and precision are key to achieving professional results. Happy repairing!
