How to Repair a Damaged Roof Shingle Without Professional Help
A damaged roof shingle might appear to be a minor issue, but if left unattended, it can lead to significant problems like leaks or structural damage. While repairing shingles may seem daunting, many minor repairs can actually be handled without professional help. Here's a step-by-step guide on how to repair a damaged roof shingle yourself.
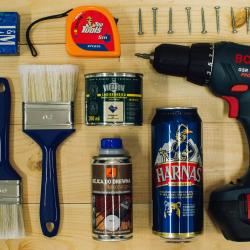
Materials and Tools Needed:
- Replacement Shingles
- Roofing Nails
- Hammer
- Pry Bar or Flat Bar
- Utility Knife
- Roofing Adhesive or Roofing Cement
- Ladder
- Safety Harness (optional but recommended)
Step 1: Ensure Safety First
Before you begin, prioritize safety. Use a sturdy, reliable ladder to access your roof and consider wearing a safety harness to prevent falls. Work on a clear, dry day to avoid slipping.
Step 2: Assess the Damage
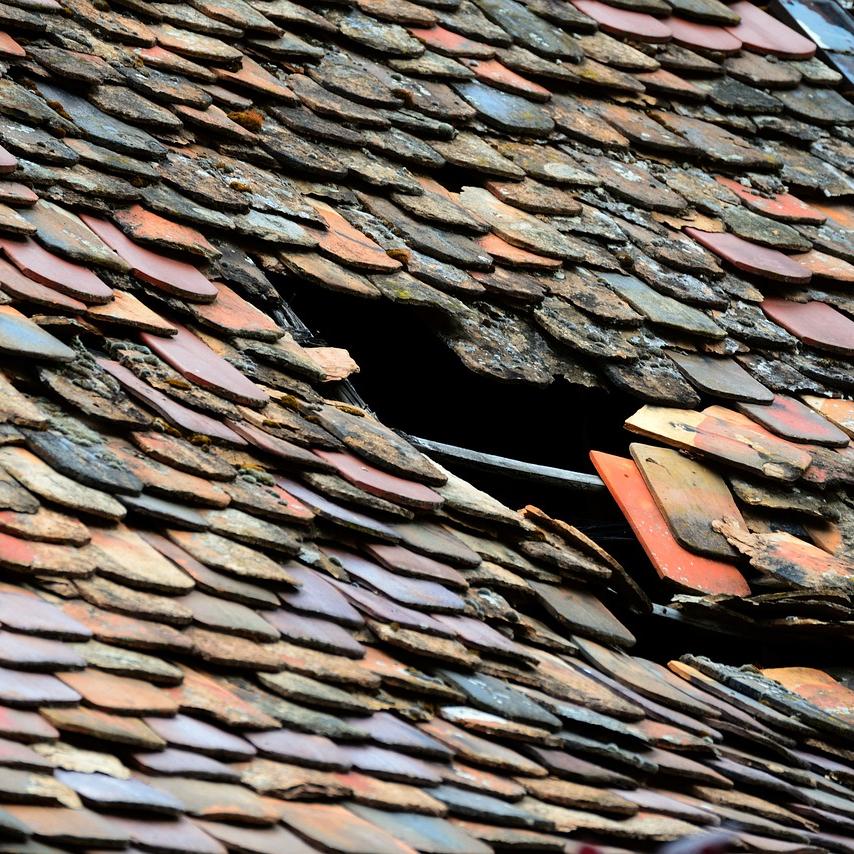
Examine the damaged shingle closely. If only a few shingles are damaged, a simple repair is feasible. However, if there is extensive damage, it may be wise to consult a professional.
Step 3: Remove the Damaged Shingle
Carefully lift the edges of the shingle above the damaged one. Use a pry bar to gently remove the nails from the damaged shingle you are replacing. Ensure you loosen the adhesive under the upper shingle to slide out the damaged one easily.
Step 4: Prepare the Replacement Shingle
Take your replacement shingle and, using a utility knife, cut it to fit the needed space if necessary. Make sure it matches the surrounding shingles in style and color, preserving the aesthetic uniformity of your roof.
Step 5: Install the Replacement Shingle
Slide the new shingle into place, aligning it with the adjacent ones. Secure it with roofing nails placed about 1 inch above where the shingle overlaps its neighbor. Make sure to apply roofing adhesive or cement underneath the shingles surrounding your patch to secure them against wind uplift.
Step 6: Seal the Repair
Use roofing cement to seal any loose edges of the other surrounding shingles. This helps to anchor everything securely and prevents water from seeping under the shingles.
Step 7: Inspect Your Work
Finally, closely inspect your repair job. Ensure the new shingle integrates smoothly with the existing ones and is securely fastened down. All edges should be well-sealed to prevent any future problems.
Conclusion
Repairing a damaged roof shingle doesn't have to be a complicated task if done correctly and safely. With the right materials and preparation, this task is achievable for a confident DIY'er. However, always pay attention to safety and, if at any point the task seems beyond your skill level or the damage is extensive, don't hesitate to consult a professional. Regular maintenance and timely repairs can save you from more significant and costly roof issues in the future.
