How to Repair a Faulty Electrical Outlet Safely
Do you have a faulty electrical outlet in your home that's been giving you trouble? Whether it's sparking, failing to deliver power, or showing signs of wear and tear, a malfunctioning electrical outlet can be more than just a minor inconvenience—it can pose a significant safety hazard. In this guide, we'll walk you through the steps to repair an electrical outlet safely. Please remember, if you're ever uncertain or uncomfortable with electrical repairs, it's crucial to contact a licensed electrician.
Safety First
Before proceeding with any electrical repair, prioritizing safety is essential. Here's how you should prepare:
-
Turn Off Power: Go to your home's electrical panel and locate the circuit breaker for the outlet you're repairing. Turn it off to cut the power supply. If unsure which breaker controls the outlet, turn off the main breaker.
-
Use a Voltage Tester: To confirm that the power is off, use a voltage tester or a multimeter to check the outlet. Insert the probes into the outlet's slots. If the tester lights up or the multimeter reads voltage, the outlet is still live. Ensure the correct breaker is off, and check again.
-
Wear Safety Gear: Consider wearing rubber-soled shoes and using insulated tools to further reduce the risk of shock.
Assess the Outlet
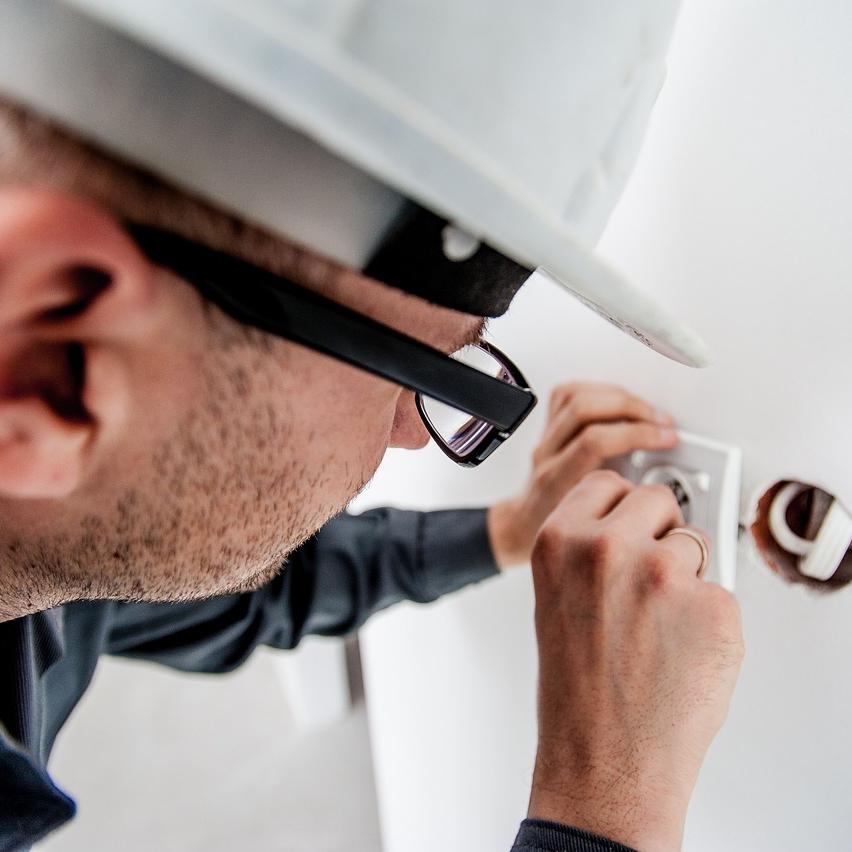
Once you've ensured the outlet is safe to work on, remove the faceplate using a flathead screwdriver. Look for visible signs of damage such as:
- Burn Marks or Charred Areas: Indicate overheating, which may require replacement of the outlet or further investigation into the circuit's integrity.
- Loose Connections: Wires should be tightly secured to the outlet terminals. Loose wires can cause flickering electricity or arcing.
Repair or Replace the Outlet
Depending on the issue you've identified, you can choose to repair or replace the outlet.
Tightening Loose Wires
-
Identify Loose Wires: If the wires connected to the outlet are loose, use a screwdriver to tighten the terminal screws gently. Ensure all wires are secure but avoid overtightening, which can damage the wire or the terminal.
-
Inspect Wire Ends: If the ends of the wires are frayed or damaged, you may need to strip the insulation and expose fresh wire. Use wire strippers to carefully remove about half an inch of insulation.
Replacing the Outlet
-
Remove the Old Outlet: With the wires still attached, gently pull the outlet away from the wall. Note how the wires are connected; typically, black (hot) wires connect to brass or gold screws, white (neutral) wires to silver screws, and green or bare (ground) wires to green screws.
-
Disconnect Wires: Loosen the terminal screws and remove the wires. Be mindful of their placement for the new outlet.
-
Install the New Outlet: Connect the wires to the corresponding terminals on the new outlet. Ensure the screws are tightened securely.
-
Secure the New Outlet: Carefully push the wires and outlet back into the box, ensuring nothing gets pinched. Screw the outlet into place, and then reattach the faceplate.
Final Steps
-
Restore Power: Once everything is secure, return to the electrical panel and switch the circuit breaker back on.
-
Test the Outlet: Use a voltage tester to verify that the outlet is working correctly and safely.
Repairing a faulty electrical outlet can be a straightforward task if approached with caution and prepared adequately. However, remember that not all electrical issues can be resolved with a simple repair. If the problem persists or seems beyond a basic fix, consult a professional electrician to ensure your home's electrical system remains safe and reliable.


