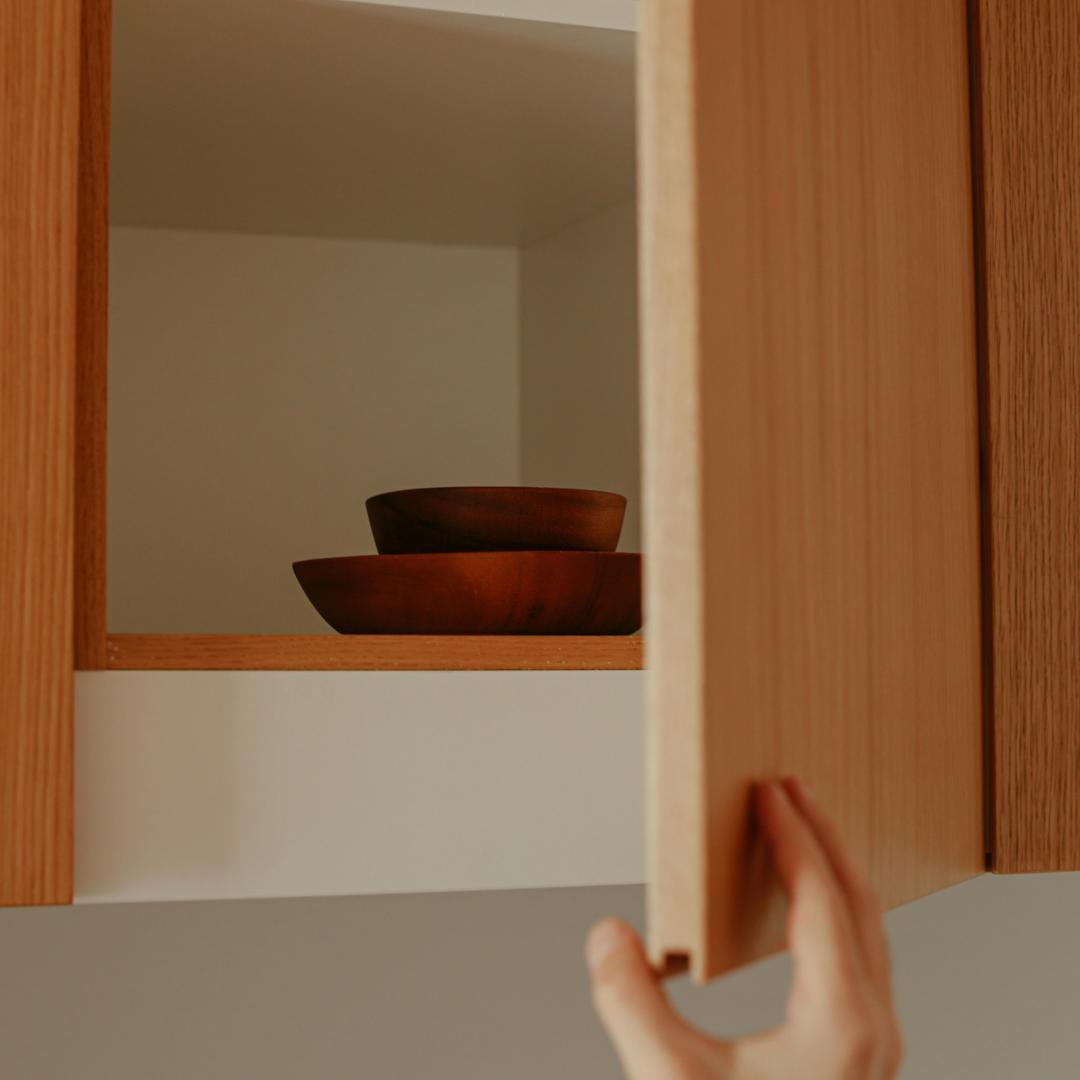
How to Re-glue a Loose Cabinet Door or Drawer
A loose cabinet door or drawer can be a source of constant annoyance, not to mention a potential safety hazard. Whether your kitchen cabinets are showing signs of wear or your bathroom drawers are coming apart, knowing how to re-glue them can save you from costly replacements. In this guide, we'll walk you through the step-by-step process of re-gluing a loose cabinet door or drawer, helping you restore functionality and appearance with minimal fuss.
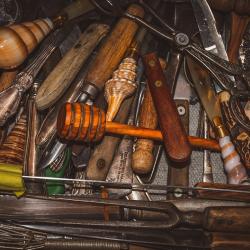
Materials Needed
Before you begin, gather the following materials:
- Wood glue (preferably a high-quality carpenter's glue)
- Clamps (bar or C-clamps)
- A screwdriver
- Sandpaper (medium and fine grit)
- A clean, damp cloth
- A small brush or applicator for the glue
- Optional: Wood filler and a putty knife for additional repairs
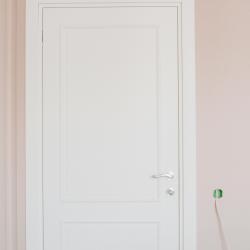
Step 1: Remove the Door or Drawer
Start by carefully removing the door or drawer from the cabinet. For doors, use a screwdriver to unscrew the hinges. Keep the screws and any other hardware in a safe place to avoid losing them. If you're working on a drawer, slide it out completely and set it on a stable surface.
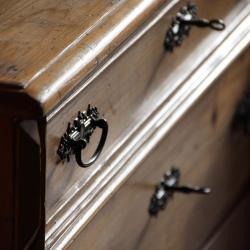
Step 2: Inspect the Damage
With the door or drawer removed, inspect the joint areas to determine the extent of the damage. Look for old glue residue, cracks, or any loose or broken components. If the wood is split, you may need to use wood filler to repair the damage before re-gluing.
Step 3: Clean the Surfaces
Use sandpaper to gently sand the surfaces where the old glue is present. This will help the new glue adhere better. Make sure to remove any dust or debris with a clean, damp cloth. Allow the wood to dry completely before proceeding.
Step 4: Apply the Glue
Using a small brush or applicator, apply a generous amount of wood glue to both surfaces of the joint. Make sure to cover the entire area where the two pieces will meet. If there are dowels or joints involved, apply glue inside any holes as well.
Step 5: Clamp the Pieces Together
Carefully align the pieces and press them together. Use clamps to hold the parts in place while the glue dries. Be sure not to over-tighten as this can squeeze out too much glue and weaken the bond. Wipe away any excess glue that oozes out with a damp cloth.
Step 6: Allow the Glue to Dry
Refer to the instructions on your wood glue for the recommended drying time. Typically, wood glue requires at least 24 hours to set fully. During this time, ensure the item remains undisturbed.
Step 7: Reassemble the Door or Drawer
Once the glue has dried completely, remove the clamps. If you used wood filler, sand it smooth with fine-grit sandpaper. Reattach the door or drawer to the cabinet using the screws and hardware you set aside earlier. Ensure the hinges or drawer slides are properly aligned for smooth operation.
Step 8: Test and Adjust
After reassembly, open and close the door or drawer several times to ensure it operates smoothly. If there are any alignment issues, make the necessary adjustments until everything fits perfectly.
Conclusion
Re-gluing a loose cabinet door or drawer is a straightforward task that can be accomplished with a little patience and the right materials. By following these steps, you'll not only restore the functionality of your cabinets but also extend their lifespan. This simple DIY project can make a significant difference in the look and usability of your home, all without the need for professional help. So grab your tools and get started—your cabinets will thank you!