How to Repair a Leaking Roof: Temporary Fixes You Can Do Yourself
A leaking roof can be a homeowner's nightmare, especially during unexpected rainstorms. Left unchecked, leaks can lead to severe structural damage and costly repairs. While it's essential to eventually hire professionals for a permanent solution, there are several temporary fixes you can do yourself to minimize damage and protect your home from further water intrusion. Here’s a step-by-step guide on how to tackle a leaking roof with temporary measures.
Identifying the Leak
-
Inspect the Interior: Start by identifying the signs of a leak inside your house. Look for water stains on ceilings and walls.
-
Trace the Source: Once inside damage is noted, trace the path back to its origin if possible. This often corresponds with specific areas on the roof, but remember water can travel along beams before it drips.
-
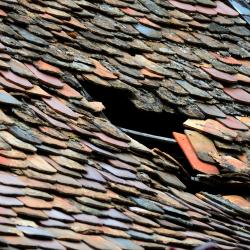
Exterior Inspection: Safely perform an exterior inspection if possible. Look for missing shingles, damaged flashing, or clogged gutters which could be the sources of leaks.
Gather Necessary Materials
Before you attempt any temporary repairs, gather the following materials:
- Tarp or heavy-duty plastic sheeting
- Roofing nails or screws
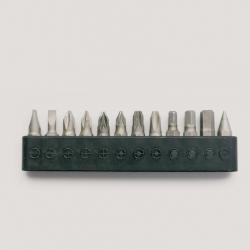
- Hammer or screwdriver
- Roofing cement or silicone caulking
- Utility knife or scissors
Temporary Fixes
-
Apply a Tarp: This is one of the quickest ways to protect against further water damage. Secure a tarp or heavy-duty plastic sheet over the area of the leak. Ensure it extends several feet beyond the damage and is securely fastened with roofing nails or screws at the edges. If the weather permits, seal the edges with roofing cement for added protection.
-
Use Roofing Cement: For small leaks and cracks, apply roofing cement directly to the problem area. Use a putty knife to spread the cement evenly over the damaged section. This solution can effectively seal minor breaches, but may not hold up under more severe weather conditions.
-
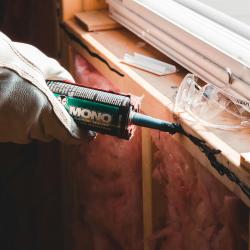
Seal with Silicone Caulking: If the leak originates from gaps in flashing around chimneys or vents, apply silicone caulking to seal the gaps. Silicone is flexible and can adhere well, making it a suitable stopgap solution.
-
Replace Lost or Damaged Shingles: If you have a few spare shingles on hand, you can replace missing ones. To do so, lift the edges of the surrounding shingles, remove any roofing nails, and slide the new shingle into place. Secure it with if available roofing nails.
-
Clear Clogged Gutters: Gutters clogged with debris can cause water to back up and seep under shingles. Clear any debris to allow water to flow freely, preventing additional water pressure from contributing to leaks.
Safety First
Remember, safety is paramount when working on a roof. Avoid undertaking repairs during adverse weather conditions. Use a sturdy ladder, and if possible, have someone else assist you. Anti-slip boots and a harness can provide additional safety for those comfortable working at heights.
When to Call Professionals
Temporary solutions are just that—temporary. Following your quick fixes, schedule a professional inspection as soon as possible. Roofing experts can provide a comprehensive assessment and recommend a long-lasting repair or replacement if needed.
Conclusion
Dealing with a leaking roof is daunting, but taking quick, effective action can prevent further damage. By applying these temporary fixes, you can protect your home until professional repairs are feasible. Always prioritize safety and consult with roofing professionals to ensure your home stays safe and secure for years to come.

