How to Change Your Car's Oil Like a Pro
Changing your car's oil is one of the most essential maintenance tasks you can perform to keep your vehicle running smoothly. While it may seem daunting at first, with the right tools and a little know-how, you can change your car's oil like a pro. This guide will walk you through the process step by step, ensuring that you do it safely and efficiently.
Why Change Your Oil?
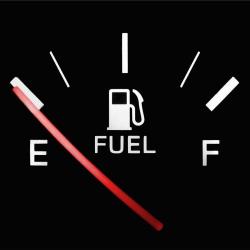
Oil is the lifeblood of your car's engine. It lubricates moving parts, reduces friction, and helps regulate engine temperature. Over time, oil breaks down and becomes contaminated with dirt and debris, which can lead to engine wear and decreased performance. Regular oil changes are crucial for maintaining your car's health and longevity.
Tools and Materials You'll Need
Before you start, gather the following tools and materials:
- Oil filter wrench: This tool helps you remove the old oil filter.
- Socket wrench set: For removing the oil drain plug.
- Oil catch pan: To collect the old oil.
- New oil filter: Refer to your owner's manual for the correct type and size.
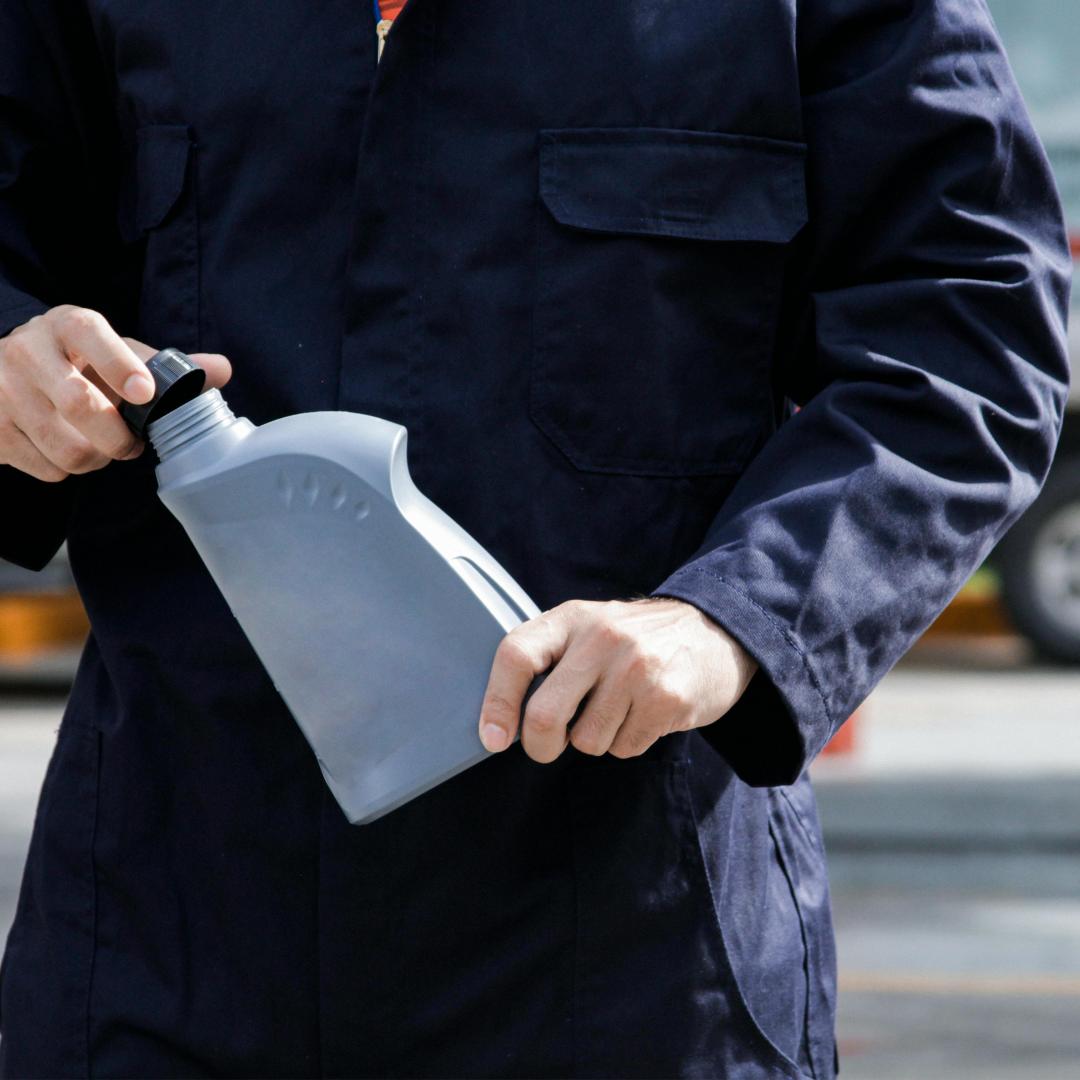
- New oil: Check your owner's manual for the recommended oil type and capacity.
- Funnel: For pouring new oil into the engine.
- Gloves and safety glasses: To keep your hands clean and protect your eyes.
- Rags or paper towels: For cleaning up spills.
- Car jack and jack stands: To safely lift and support your vehicle if necessary.
Step-by-Step Process
1. Prepare Your Vehicle
- Ensure Safety: Park your car on a level surface, turn off the engine, and let it cool down. Engage the parking brake and use wheel chocks if available.
- Lift the Vehicle: If needed, use a car jack to raise the vehicle and secure it with jack stands. Make sure it's stable before getting underneath.
2. Drain the Old Oil
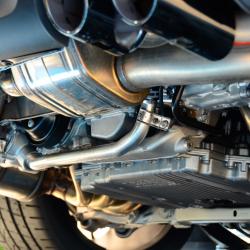
- Locate the Oil Drain Plug: Consult your owner's manual to find the oil drain plug under your car.
- Position the Oil Catch Pan: Place the pan under the drain plug to catch the old oil.
- Remove the Drain Plug: Use a socket wrench to carefully loosen and remove the drain plug. Allow all the oil to drain completely, which may take a few minutes.
3. Replace the Oil Filter
- Locate the Oil Filter: Depending on your car, the oil filter might be more accessible from above or below the engine.
- Remove the Old Filter: Use the oil filter wrench to unscrew the old oil filter. Be prepared for some oil spillage.
- Install the New Filter: Before installing, apply a small amount of new oil to the rubber gasket on the new filter to ensure a good seal. Screw it on by hand until it's snug, then tighten it another quarter turn.
4. Add New Oil
- Replace the Drain Plug: Once the old oil has drained completely, replace the drain plug and tighten it securely.
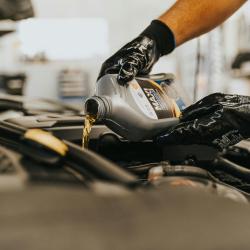
- Add New Oil: Remove the oil filler cap on top of the engine and use a funnel to pour in the new oil. Pour slowly to avoid overfilling.
5. Check Oil Levels and Finish Up
- Check Oil Level: After adding oil, wait a few minutes, then use the dipstick to check the oil level. Add more oil if necessary to reach the recommended level.
- Run the Engine: Start the engine and let it run for a few minutes. Check for leaks around the oil filter and drain plug.
- Dispose of Old Oil Properly: Pour the old oil into a sealed container and take it to a recycling center or an auto shop that accepts used oil.
Tips for Success
- Know Your Schedule: Most cars need an oil change every 3,000 to 5,000 miles, but check your owner's manual for specific recommendations.
- Use the Right Oil: Using the correct oil type and grade is crucial for optimal engine performance.
- Stay Organized: Keep all your tools and materials organized and within reach to streamline the process.
By following these steps and tips, you can confidently change your car's oil like a pro. Regular oil changes are a small investment of time and money that can lead to significant savings in the long run by avoiding costly engine repairs. Happy motoring!